
Set up accounts and teams
Understand ownership, team boundaries, and the path from an invitation to a working desk.
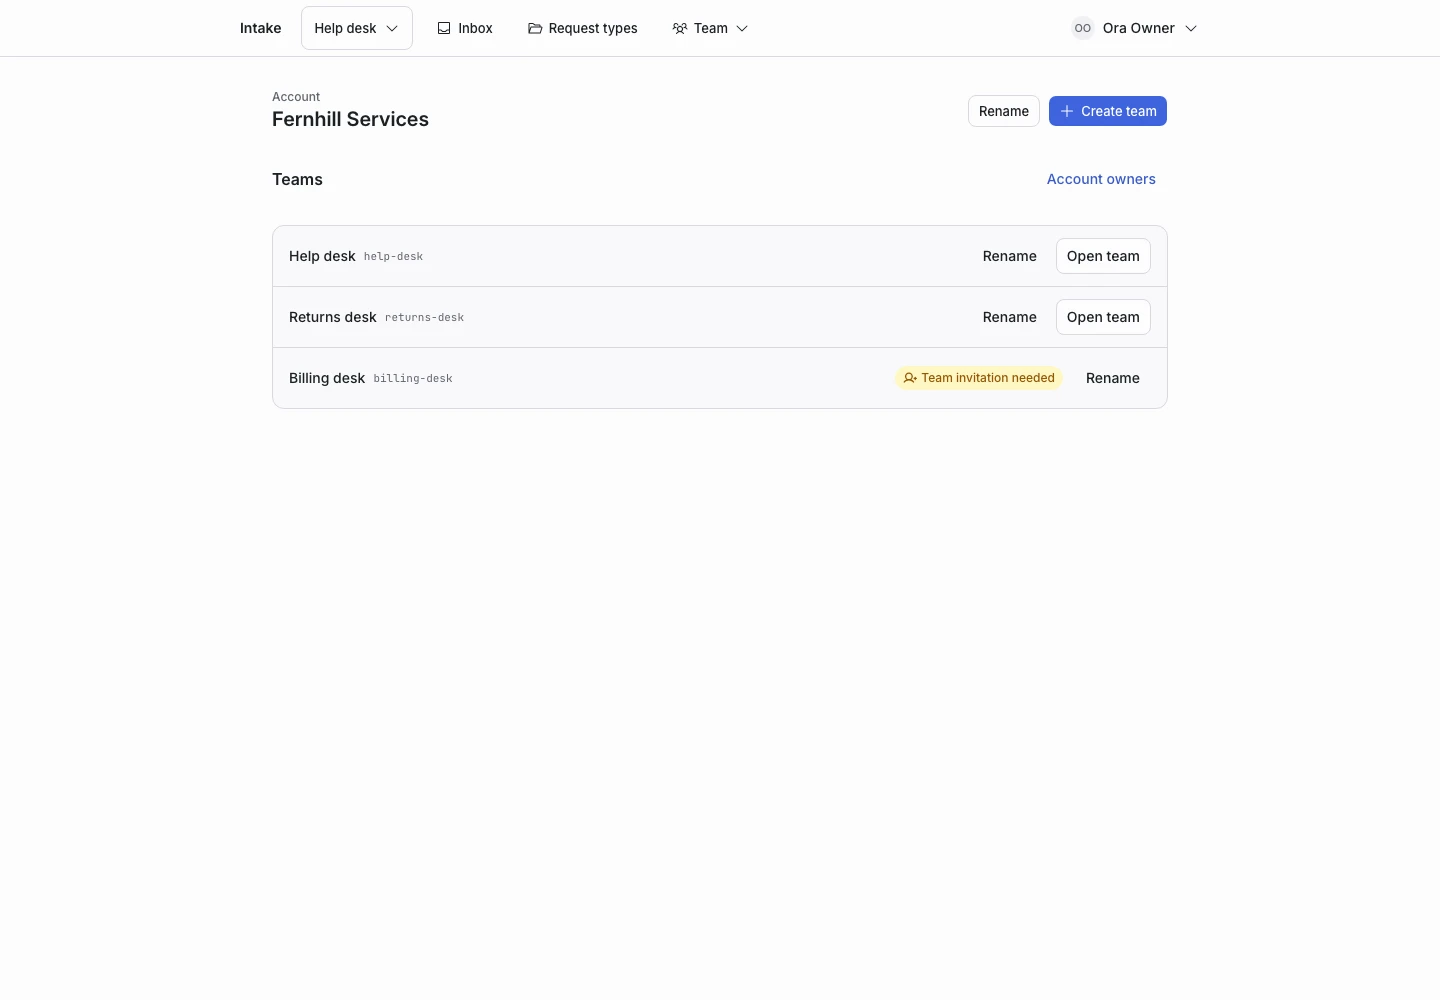
Product screen with sample data. Intake is the previous working name.
Understand the structure
An installation contains customer accounts. Each account can own several teams, also called desks. Each team has separate request types, requests, examples, and API tokens.
Account ownership does not grant access to team content. A team membership provides that access.
Onboard an account
An installation administrator creates an account with its name and the first owner’s email address. The product sends an invitation.
The invitation belongs to that email address. An existing user signs in with their own credentials. A new user creates a password through the invitation flow.
The administrator does not choose the account owner’s password.
Create a desk
- Sign in as an account owner.
- Open Accounts.
- Select the account.
- Choose the action to create a team.
- Enter the team name.
- Confirm creation.
- Open the team through the offered access.
The product creates the team key from its name. That key remains fixed because public links use it.
Switch teams
Use Choose a team to see the teams you can access. Select a team to work with its content.
Switching an account view does not create a team membership. If a team does not appear, ask its owner to check your invitation.
Manage the directory
An account owner can manage the account’s desk names and account-owner invitations. An installation administrator can manage onboarding and directory metadata.
Neither role gives inherited access to applicants’ answers. See roles and invitations.