
Install ClientStack
Use the guided installer on a fresh server and create the first account and team.
Product screen with sample data. Intake is the previous working name.
Before you start
Use a fresh, empty database for a new installation. Obtain the release package and its release notes from NowSquare. Confirm the server requirements.
A development checkout with sample logins is not a production release. Do not seed demo users into a live installation.
Prepare the server
- Upload the release package to the application directory.
- Create an empty MySQL database.
- Create a database user with the required access.
- Set the web document root to the application’s
public/directory. - Enable HTTPS for the chosen domain.
- Give the web process write access to
storageandbootstrap/cache. - Open the HTTPS address.
A fresh installation opens /install.
Follow the installer
- Resolve every failed requirements check.
- Enter the database connection details.
- Run the database test.
- Enter the product name, URL, locale, and time zone.
- Enter the SMTP details.
- Send a test email.
- Enter and test the TypeSafe API key.
- Complete the license step if the package uses a license service.
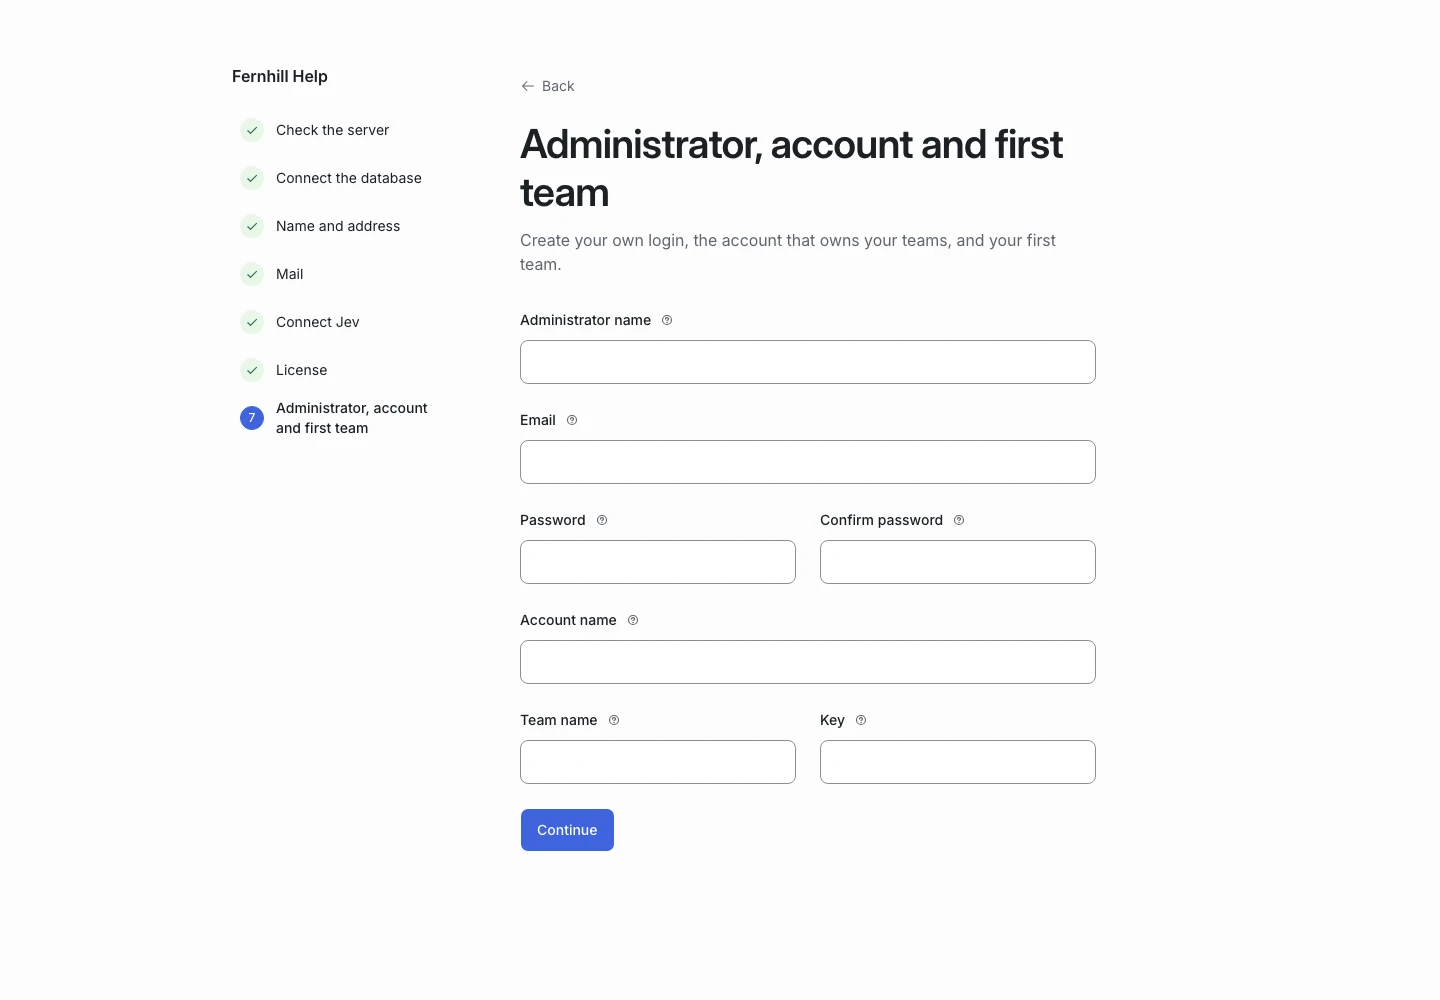
- Enter your administrator details.
- Enter the first account and team names.
- Review the summary.
- Select Finish.
Keep passwords and API keys private. The installer does not show saved secrets in full.
Check the first sign-in
Finish creates the database structure and the initial access grants. This first-install process gives the administrator account-owner and first-team-owner access.
- Sign in.
- Open the first team.
- Confirm the product name.
- Create a sample request type.
- Test a request with sample text.
The installer returns 404 after completion. This prevents a second installation over the existing one.
Enable scheduled work
Copy the cron instruction that Finish shows into your server’s scheduler. A typical Laravel schedule runs once per minute:
* * * * * cd /path/to/clientstack && php artisan schedule:run >> /dev/null 2>&1
Replace the example path and use the correct PHP executable. Check the health screen to confirm that the scheduler ran.
Check the AI connection
The installer can let you skip a failed service test. Skipping does not make live judging work. Set and test the TypeSafe connection before accepting real applicant requests.
Continue with updates and health.